
Smart Thermostat Installation Steps Explained
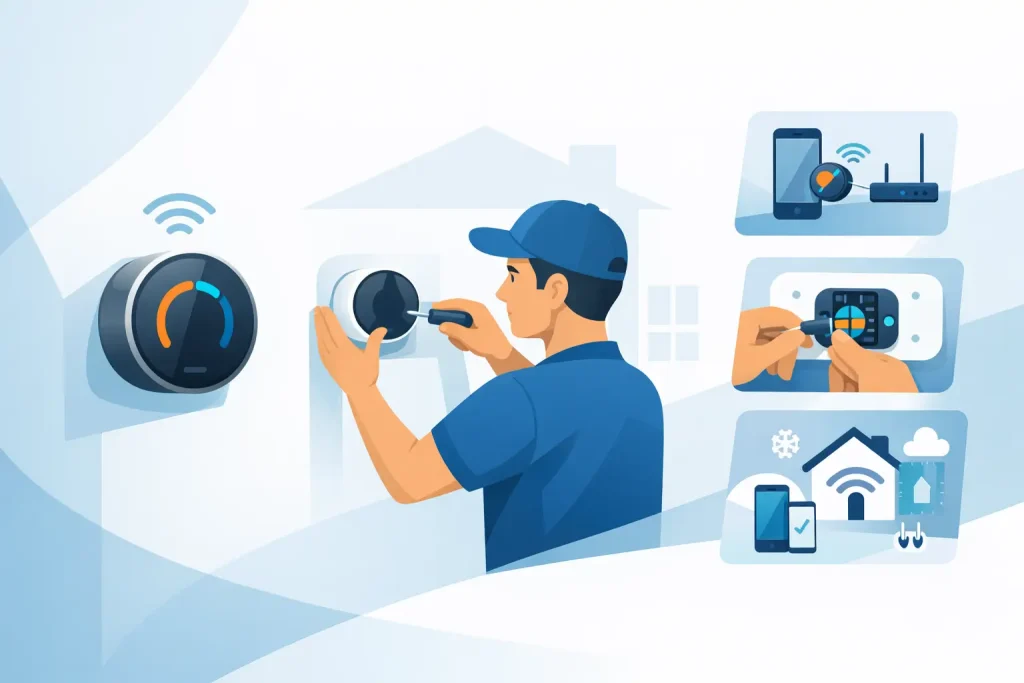
A smart thermostat can make a heating system feel far easier to live with, but only if it is fitted properly. The right smart thermostat installation steps do more than get the screen on the wall working – they help make sure your boiler, controls and heating schedule all work together safely and as intended.
For many homeowners, the appeal is obvious. You want better control over heating times, easier temperature adjustments and a clearer idea of what the system is doing. For landlords, there is the added benefit of giving tenants simple, modern controls without creating reliability issues. The part that often gets underestimated is compatibility and wiring. That is where a careful approach matters.
Smart thermostat installation steps before any wiring starts
Before fitting anything, it is worth checking what type of heating system you actually have. A combi boiler setup may be straightforward, but systems with separate hot water controls, motorised valves, cylinders or older programmers can be more involved. Some properties also have existing wireless receivers or proprietary controls that affect what can be reused and what needs replaced.
The next step is confirming that the new thermostat is compatible with the boiler and existing control arrangement. Not every smart thermostat works the same way. Some are better suited to simple heating-on, heating-off control, while others can manage zoned systems or hot water as well. This is one of the main reasons rushed installations cause problems. If the wrong product is chosen, you can end up with partial control, heating that does not respond properly, or a system that loses useful functions.
You should also decide where the thermostat itself will be located. If it uses an on-wall sensor, placement matters. Fitting it in a hallway that gets cold drafts, beside a radiator, or in direct sunlight can lead to poor temperature readings and uneven heating. A smart thermostat should be sensing a fair representation of the home, not reacting to one awkward spot.
At this stage, isolating the electrical supply is essential. Even if the control wiring seems simple, this is not a job to approach casually. Heating controls sit at the point where electrical components and gas appliances interact. The thermostat may not handle gas directly, but it does affect how and when the boiler operates.
The practical smart thermostat installation steps
Once compatibility is confirmed and power is safely isolated, the old controls can be removed. In some homes, this means replacing a simple wall thermostat. In others, it involves taking out a programmer, receiver, or both. The important thing here is identifying the existing wiring correctly rather than assuming colour alone tells the full story. Older installations are not always wired in the neat, standard way people expect.
The new backplate or receiver is then mounted in place. This has to be secure, level and installed where the signal path is sensible if the system uses wireless communication. A smart thermostat that keeps dropping connection is not much of an upgrade, so this part deserves attention.
The wiring is then connected according to both the thermostat manufacturer’s instructions and the heating system’s control requirements. That sounds obvious, but it is where the real skill often lies. Some boilers require volt-free contacts, others work differently, and some systems need links removed or retained depending on how the controls are being integrated. Get that wrong and the heating may not fire, may run continuously, or may behave erratically.
After the receiver or control unit is wired, the thermostat itself can be mounted or paired. If it is battery powered and wireless, that may be straightforward. If it needs a power supply at the thermostat position, installation becomes more involved. In many older properties, there is not always a suitable cable arrangement for a powered smart thermostat without additional work.
Once fitted, the system can be powered back up and paired with the home network if required. This is the stage most people think of when they picture smart controls – connecting the app, naming rooms or creating schedules. Useful as that is, it only comes after the safe control side has been dealt with properly.
Testing matters as much as fitting
A good installation does not stop when the thermostat lights up. The system needs tested properly. That means checking the boiler responds when there is a call for heat, confirming it shuts down when demand ends, and making sure the heating schedule actually does what it is meant to do.
If the property has separate hot water control, that should be tested independently as well. On more complex setups, each heating zone should be checked in turn. This is where a lot of hidden faults show up. Sometimes the thermostat is installed correctly, but an existing valve, wiring centre issue or old control fault only becomes obvious during commissioning.
Signal strength and app control should also be checked before the job is considered finished. If the thermostat keeps falling offline, the problem may be Wi-Fi coverage, device position or interference. Sometimes that is easy to solve. Sometimes it means adjusting expectations about where equipment can sensibly go.
Just as importantly, the user needs shown how to operate it. A smart thermostat that is technically excellent but confusing to use often ends up left on manual override. Taking a few minutes to explain schedules, temperature settings and holiday mode is part of a proper job.
When smart thermostat installation is not a simple DIY task
Some installations are relatively straightforward, but many are not. If your heating system has a hot water cylinder, multiple zones, underfloor heating, an older programmer, or controls that seem to have been altered over the years, it is sensible to treat the job with caution.
There is also the question of boiler protection and manufacturer requirements. Modern boilers often work best when controls are set up in a way that supports efficient operation rather than simply switching on and off aggressively. In some cases, a basic smart thermostat will work, but not deliver the full benefit the boiler could achieve with more suitable controls.
For landlords, there is an added layer of responsibility. Heating controls need to be reliable and safe for tenants to use, and any work carried out should be done properly with a clear understanding of how it affects the wider heating system. Saving a little on fitting is rarely worth it if it leads to call-backs, tenant complaints or loss of heating.
This is why many customers prefer to have smart controls installed by a qualified heating engineer rather than treating it as a quick retail gadget upgrade. The control may be new, but it still has to work as part of the whole system.
Common problems during installation
One common issue is assuming the old thermostat wires will directly suit the new one. Sometimes they do. Sometimes they absolutely do not. Another is replacing only one control component when the full setup really needs looked at together.
Poor thermostat location is another frequent problem. If the thermostat is fitted where it gets false readings, the heating can cycle badly or leave parts of the house too cool. Wi-Fi dependence also catches people out. A smart thermostat can only be as smart as the connection it relies on.
Then there is simple setup error. Time schedules, minimum temperatures, hot water programmes and optimisation features all need checked carefully. A property owner may think the thermostat is faulty when the issue is really a setting that has been left wrong from day one.
A careful installation gives better long-term value
The real value of smart heating controls is not just remote access from your phone. It is getting consistent, predictable control of the system without unnecessary waste or frustration. That only happens when the thermostat suits the property and is installed properly.
For homes across West Lothian, the best results usually come from treating smart controls as part of the heating system rather than as a standalone gadget. That means checking compatibility, wiring correctly, testing thoroughly and making sure the customer knows exactly how to use what has been fitted. At Boiler-Serv, that is the sort of careful, no-shortcuts approach that matters.
If you are considering a smart thermostat, the best starting point is not the app screen or the box on the shelf. It is asking whether the control is right for your boiler, your home and the way you actually use your heating. Get that part right, and the rest tends to follow.